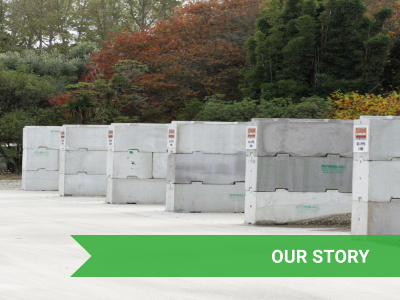
Simplicity sits at the heart of the Interbloc system, because simple systems are fast to learn and easy to use. While the blocks stack together with ease, we've collated ten top tips for building the perfect Interbloc wall.
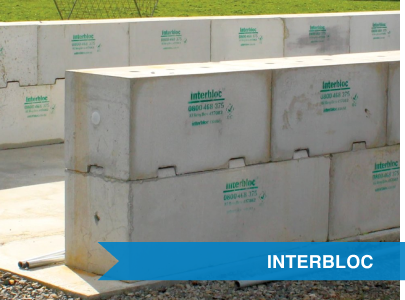
Interbloc allows you to build structures faster, without compromising on durability or safety. Importantly, it offers you a unique ability to change the structure as your needs change. How do we do this? With great design.
Great design lies at the heart of our business. We think about the people who will use our blocks, and the places our blocks will be used: The block designs look simple enough, but when you dive deeper they deliver a powerful combination of benefits.
They’re fast to install, reducing wasted time and labour.
They’re strong, delivering unparalleled durability and resilience.
They’re safe, because it's a fully engineered system.
They’re flexible, because they can be used in a wide range of situations
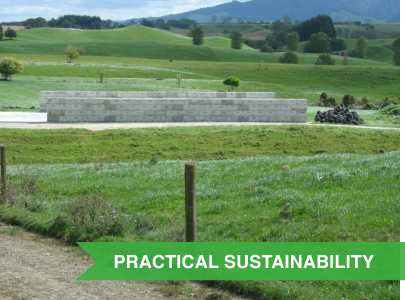
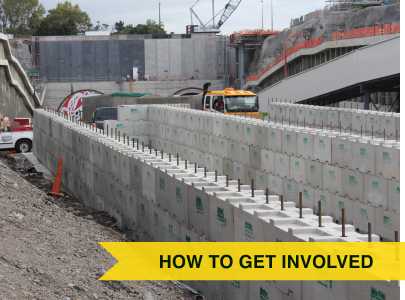
Over the past 16 years, we’ve built 4,200 structures across New Zealand and Australia using Interbloc. Two experienced installers can build up to 160m² of wall per day. Interbloc walls can also be vertically reinforced post-placement to increase the capacity of the wall.
Here are a few basic tips to remember when you install Interbloc:
A level and firm foundation: A wall is only as good as its foundations. In an ideal world all Interbloc walls would be installed on a concrete foundation. However this can be an option for walls under 2.4m high. Where a concrete foundation can not be used, the blocks should be installed on a level, well compacted, gravel foundation. If in doubt you should talk to a local geotechnical engineer about the most suitable foundation for your wall.
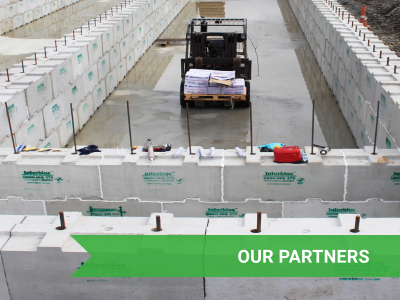
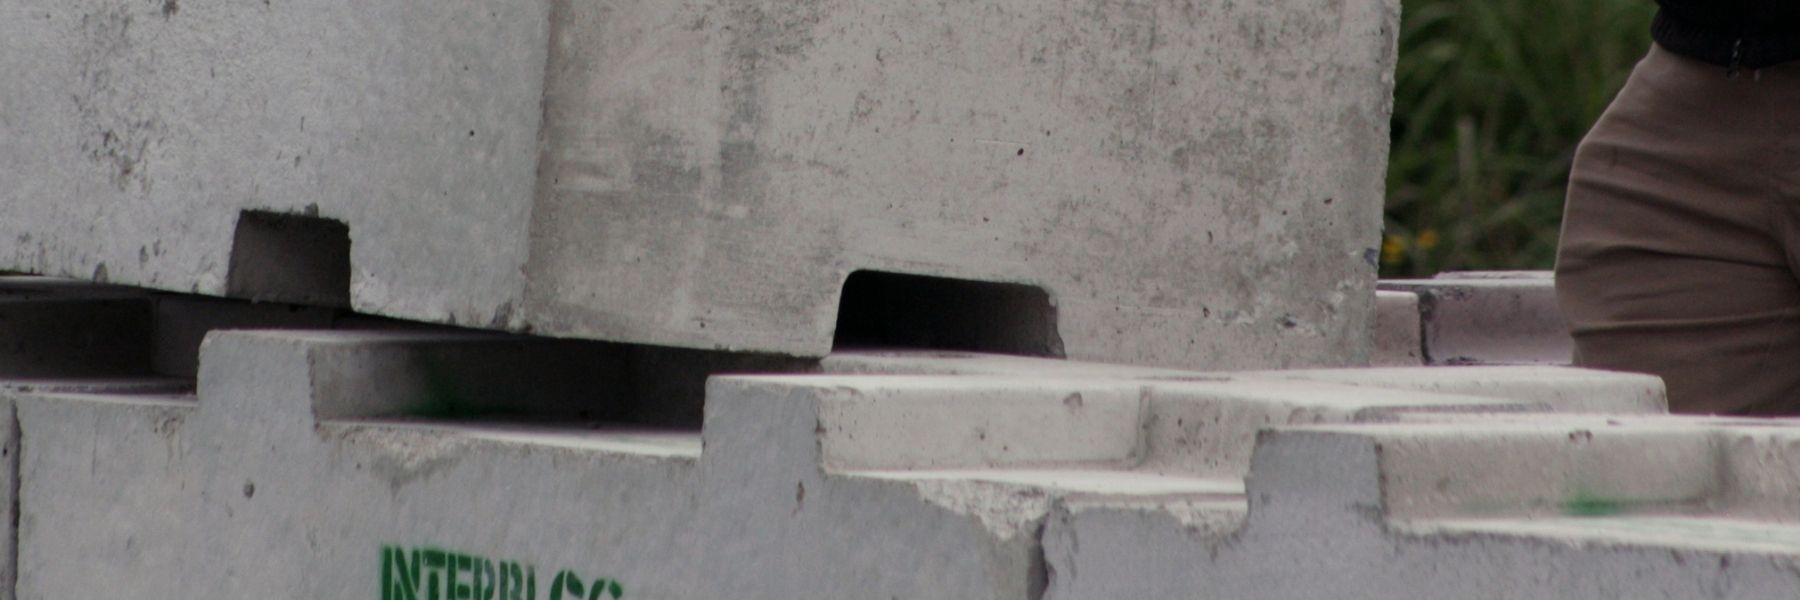
Space the blocks correctly, ensuring the wall is straight: The interlocking design of the blocks mean getting the spacing correct on the base layer is essential for a smooth build process. Measured outside to outside, the interlocking crossbars on top of the blocks should be 747mm apart on the base row. Use the Interbloc installation stencil (Maybe link to shop) for a quick and easy measure tool. Run a string line along the length of the wall and place the blocks about 10mm away from the string line to ensure a straight, plumb wall.
Clearing loose debris: You need to make sure the foundation’s surface is clean prior to laying the first course of blocks - use a brush or blower to do this. Then make sure the top of the previous layer is swept free of debris too before you add the next layer.
Create a running bond pattern: This classic placement provides more strength across vertical planes because they eliminate the continuous vertical joints that occur in stack bond walls. Never stack the blocks directly on top of each other, unless they are being used for counterweights.
Review your block layout pattern: In most cases you'll be supplied with a 3D render of the design of your structure. It's important to review these renders to ensure the right block is put in the correct position. Placing the wrong block in the wrong position may result in a shortage of some blocks and surplus of others.
Build as you go, starting from one corner and building out: When an Interbloc structure has intersecting walls or corners, always start and build out from one corner. This will allow for creep in the blocks and eliminate the chance of misaligned wall.
Repositioning your block: Blocks can be repositioned post-placement by using a pinch/crow bar to leverage the block around. Flat bottom blocks can be a bit more difficult to move using this method, so try to ensure correct positioning first time.
Vertical reinforcing: All Interbloc blocks have 60mm diameter reinforcing ducts cast through the block at 600mm centres. Reidbar (sold as a kit set called Interbloc Fixing Kits) is inserted through these ducts to tie the wall together, or to the foundation, which increases the out- of-plane bending capacity of the wall. When you're drilling holes for fixing kits, drill at 603mm centres to allow for block creep. Drill a maximum of 15 holes at a time to allow for recalibration as you place the blocks.
Check the blocks as you go: While Envirocon has a comprehensive quality control process, with thousands of blocks being produced each month the odd bad block can slip through. Run your eye over the block, including the reinforcing ducts, before placement to ensure there are no issues. Once in the wall the block can be time consuming to access again.
Allow for creep with your blocks: Allow for block creep of about 2-3mm each block. Over longer wall distances this should be allowed for in the design of the foundation.
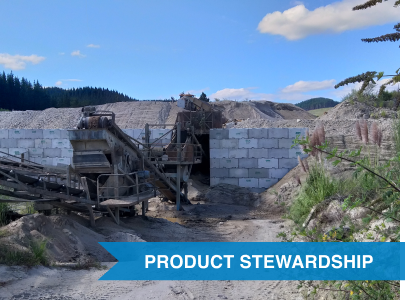
But that’s not all – no grouting makes it extra easy to break down and install elsewhere. You can even on-sell the blocks to another company or back to us under our buy back guarantee when you’ve finished with them.